Git Installation
What is Git?

Git is a distributed version control system that tracks changes in any set of computer files, usually used for coordinating work among developers who are collaboratively developing source code during software development. It was created by Linus Torvalds in 2005 to support the development of the Linux kernel and has been maintained by Junio C Hamano since then. Its goals include speed, data integrity, and support for distributed, non-linear workflows.
Installing Git
For Windows
There are a few ways to install Git on Windows. The most official build is available for download on the Git website. Just click here and the download will start automatically from th Git website. Note that this is a project called Git for Windows, which is separate from Git itself; for more information on it, click here.
Run the Installer:
Open the downloaded file to start the installation. You will be greeted with the Git Setup wizard.
Installation Options: Follow the setup instructions. You can leave most options at their default settings. When prompted to choose the default editor, you may select the one you’re most comfortable with (e.g., VSCode, Notepad++, etc.).
Adjusting Your PATH Environment: During the installation, you’ll be asked to adjust your PATH environment. Select “Use Git from the Windows Command Prompt” for ease of use.
Configuring the Line Ending Conversions:
Choose how you want Git to treat line endings in text files. The recommended setting for Windows users is “Checkout Windows-style, commit Unix-style line endings”.
Completing the Installation: Proceed with the installation. Once completed, click ‘Finish’.
Verify Installation:
Open Command Prompt and type
to ensure Git is installed correctly and to see the installed version.
For MacOS
There are several ways to install Git on macOS. The easiest is probably to install the Xcode Command Line Tools. On Mavericks (10.9) or above you can do this simply by trying to run git from the Terminal the very first time.
If you don’t have it installed already, it will prompt you to install it.
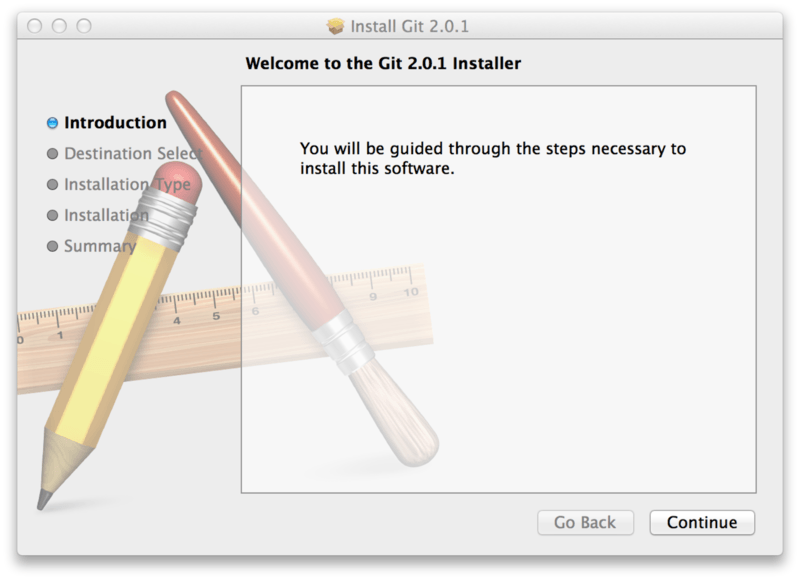
Install Git from the Official Website:
Alternatively, you can download the macOS Git installer from Git’s official site, if you want a more up to date version. Click here to get it. Open the downloaded file and follow the installation instructions.
Verify Installation: In the Terminal, type
to check the installation.
Install Git via Homebrew: If you have Homebrew (a package manager for macOS), you can install Git by opening the Terminal and typing