Installing Visual Studio Code
What is Visual Studio Code?
Visual Studio Code is a Integrated Development Enviroment (IDE) developed by Microsoft for Windows, Linux and macOS. An integrated development environment or IDE is a software for building applications. An IDE is just like a text editor except instead of writing documents you’re writing source-code. Visual Studio Code includes features to aid rapid application build. Users can change the theme, keyboard shortcuts, preferences, install extensions that add functionality, and has support for different programming languages.
Installing Visual Studio Code
Prerequisites
- VS Code is lightweight and should run on most available hardware and platform versions. You can review the System Requirements to check if your computer configuration is supported.
For Windows PC
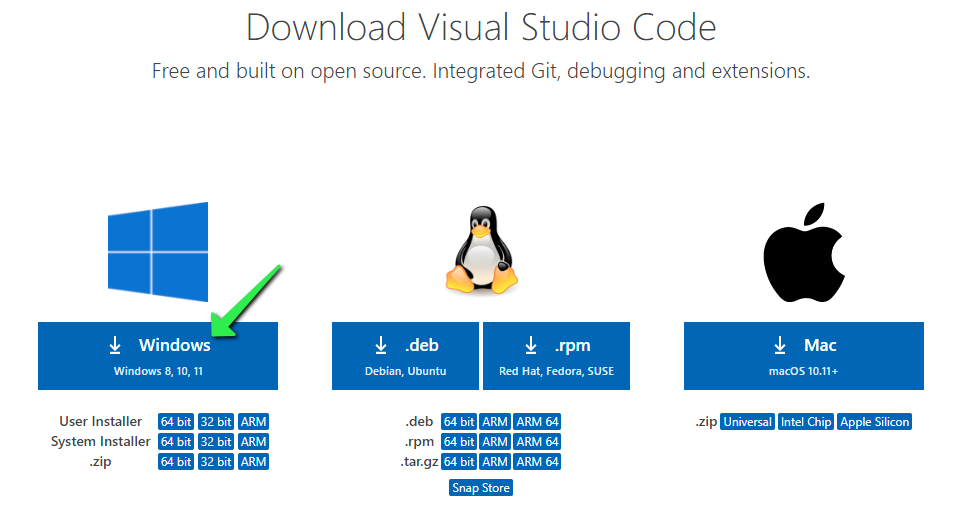
- Visit the official website of Visual Studio Code using any web browser like Google Chrome, Microsoft Edge, etc.
- Click the “Windows” button under the Windows logo on the website to start the download of the Visual Studio Code Application.
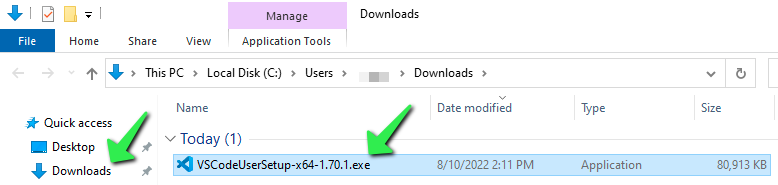
- When the download finishes, click on the installer icon in the downloads folder to start the installation process of the Visual Studio Code.
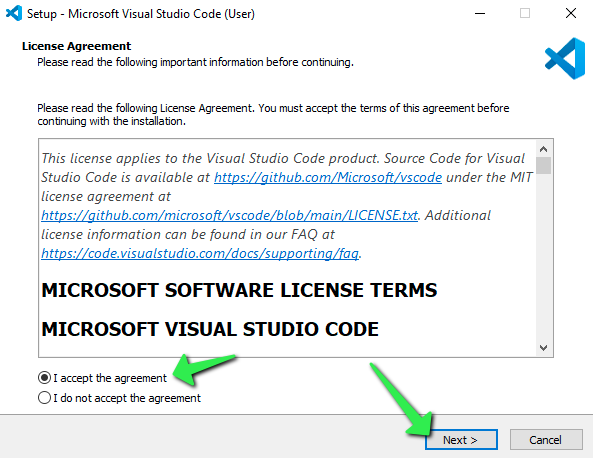
- After the Installer opens, it will ask you for accepting the terms and conditions of the Visual Studio Code. Click on I accept the agreement and then click the
Next>button.
- Proceed through the installation process by clicking on the “next” button at each prompt.
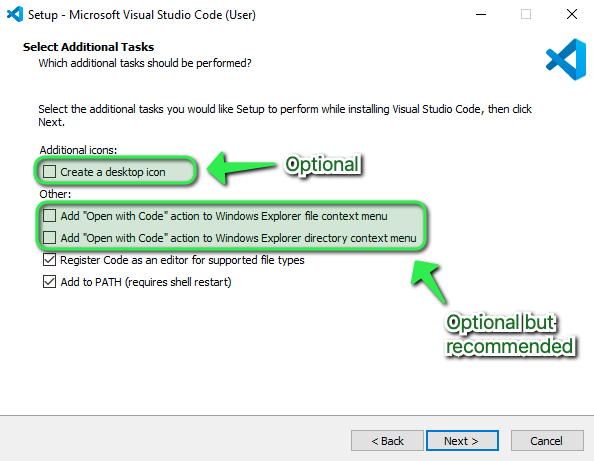
- At this prompt, optionally check the boxes for “Creating a desktop icon”, and adding VS Code to the Right-Click menu functionality of Windows File Explorer, then click
Next >.
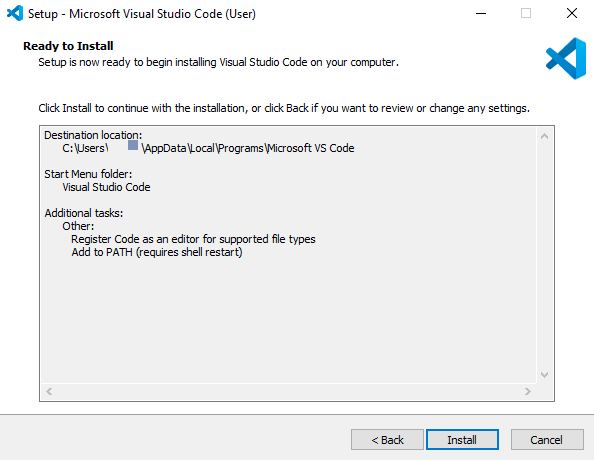
- Confirm the installation options, then click
Install. The installation will proceed.
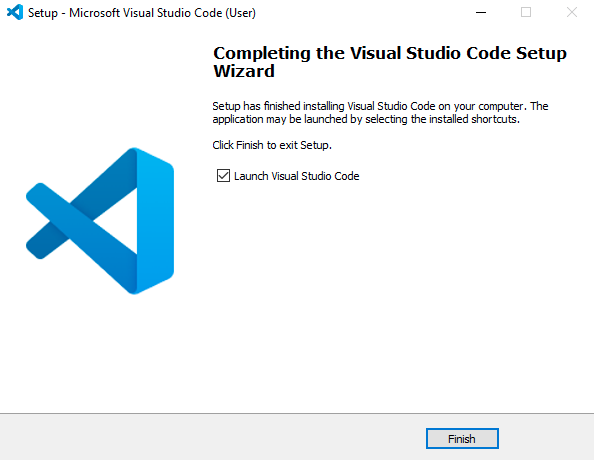
- Click
Finishto exit the installation and (by default) launch Visual Studio Code.
Your VS Code is installed on your PC and ready for you to start coding away with it.
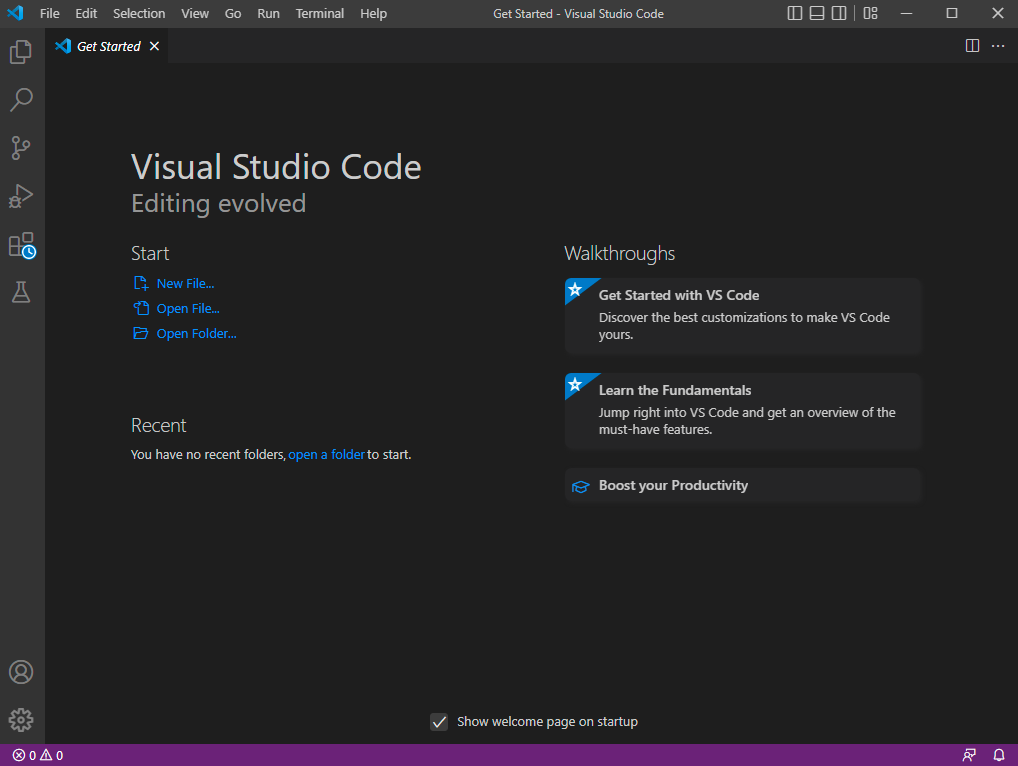
You can always launch it by clicking on the Desktop Icon (if you selected that option during the installation process) or by searching it in the ⊞ Start Menu.

For Mac OS
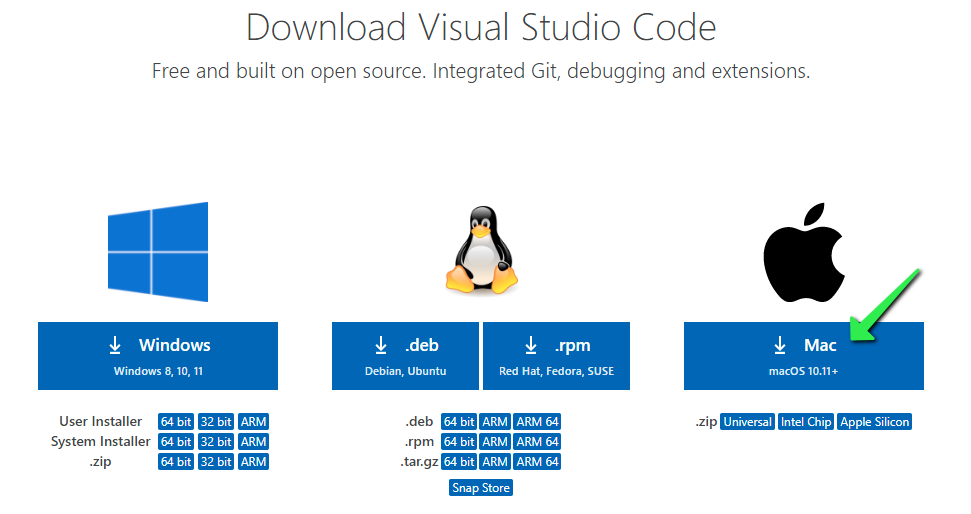
- Navigate to the official website of Visual Studio Code using any web browser like Safari, Google Chrome etc.
- Click the “Mac” button under the Apple logo on the website to start the download of the Visual Studio Code Application
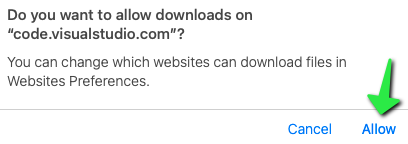
- Depending on the browser used and security settings within, there may be prompts to allow access to the Download folder or similar. Allow any prompts that are generated.
- Hold down the
Command ⌘key on your keyboard and press theSpace Barand type ‘Downloads’ in the search field, click on the Downloads Finder icon.

- Click on “Downloads” on the left side of the Finder window then locate the Visual Studio Code application file. You can click on the Date Added column to sort by newest to help you find the VS Code file.
- Click and drag the Visual Studio Code application to the Applications folder on the left.

Your VS Code is installed on your Mac and ready for you to start coding away with it.
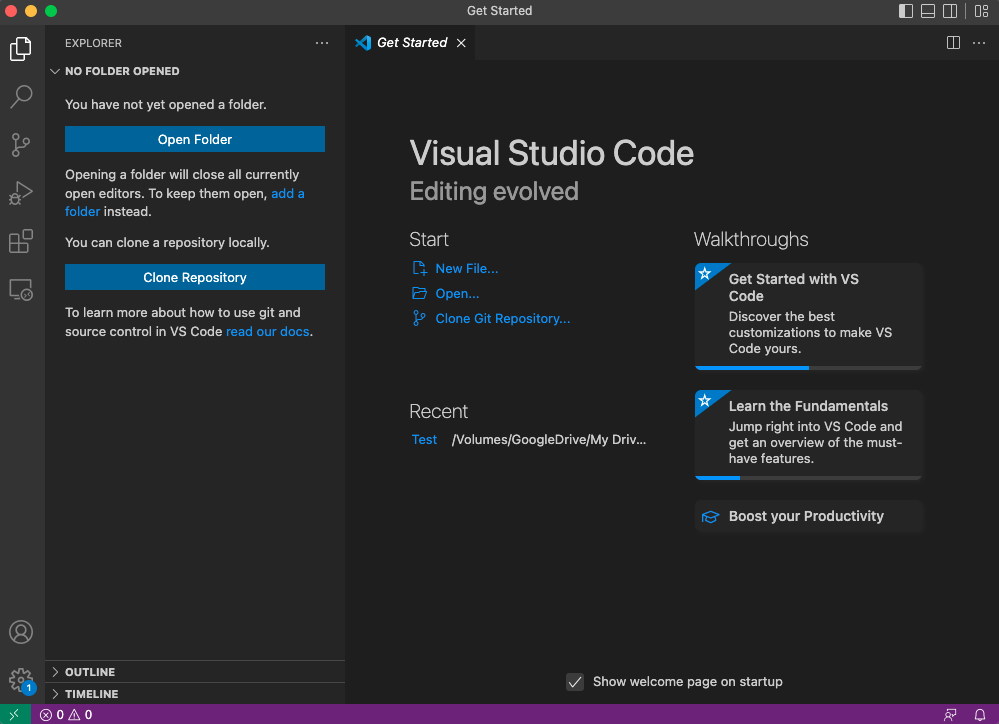
You can launch it by clicking on the Launchpad Icon in the Mac OS dock and then either look for the Visual Studio Code icon, or use the Search bar at the top of the Launchpad.

Click on the Visual Studio Code icon once it has been located.

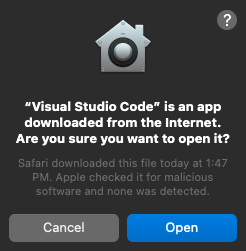
Mac OS will prompt to confirm that opening a program downloaded from the internet was an intended action. Click Open
Congratulations 🎉😎
You have successfully installed Visual Studio Code